
<-----AD----->
Ever feel like your downloads in Brave Browser could be a bit faster? Maybe the default download manager feels a little clunky. I’ve been there. You’re trying to grab a big file, and it just seems to take forever.
Well, there’s a great way to improve your experience. You can connect Internet Download Manager, or IDM, directly to Brave. It’s a popular tool known for speeding up and organizing downloads.
In this guide, I’ll walk you through adding the IDM extension to Brave. We’ll look at two simple methods. No confusing tech stuff, I promise! Just easy, step-by-step instructions to get you downloading files more efficiently.
How to Add the IDM Extension in Brave Browser

You can add IDM to Brave in two main ways. One is by using a special file from your IDM installation folder. The other is by getting it from the Chrome Web Store. Let’s go through both.
Method 1: Integrate IDM Using the CRX File
This method involves a manual install. It’s like dragging and dropping a special file directly into Brave. Sounds easy? It is. First, you might need the file itself.
Ready to get started? Here are the steps to add the IDM extension using its CRX file.
- First, open your Brave browser.
- Next, find the three little lines in the top-right corner. That’s the menu. Click it, then go to Extensions.

- Now, you’ll need to find a specific file on your computer. Open up your File Explorer. Then, head to where you installed Internet Download Manager. It’s usually in
C:\Program Files (x86)\Internet Download Manager. - Inside that folder, look for a file named IDMGCExt.crx. It might have a little puzzle piece icon.

- This is the fun part. Just drag that IDMGCExt.crx file from your folder. Drop it right onto the Brave Extensions page you opened earlier.

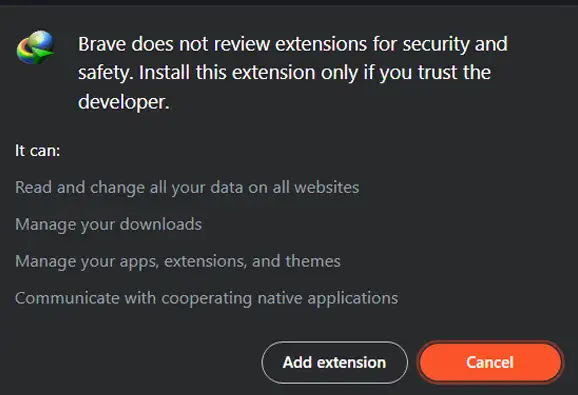
- Brave will show a small pop-up asking for your permission. Click “Add extension” to continue.
- Almost done! For the best experience, click the Details button on the new IDM extension. I always make sure to turn on “Allow in Private” and “Allow access to file URLs”. This lets IDM work everywhere in Brave.

And that’s it! You’ve manually added IDM to Brave. Simple, right?
Method 2: Add IDM from the Web Store
If you’d rather not hunt for files, this method is for you. It’s just like installing any other browser extension.
A quick heads-up: Be careful. The web store can have fake extensions that look like IDM but might contain viruses. Always use the official one to stay safe.
- Open Brave and go directly to the official IDM extension page on the Chrome Web Store. Here’s the link to make it easy: IDM Integration Module – Chrome Web Store.

- You’ll see a blue button that says “Add to Brave”. Go ahead and click it.
- Just like before, a small box will pop up asking for permission. Click “Add extension” to give it the green light.
- After it installs, you should see the IDM icon appear in your browser’s toolbar. That means it’s ready to go!
And you’re all set. A few clicks, and IDM is now part of your Brave browser, ready to help you manage your downloads.